

The useful question after a PET strap breaks is not ‘Which stronger band should replace it?’ but ‘Where did the damage begin?’ A peeled weld, a clean snap in open span, a split running along one edge, and a cut at a pallet corner are different failures. If the broken loop is discarded and the machine setting is changed immediately, the best evidence disappears.
Troubleshooting should move from observation to a controlled check. Preserve the failed parts, place the event on a timeline, inspect the location that first shows damage, and change one cause at a time. This approach is faster than replacing material, increasing tension, and adjusting weld energy together.
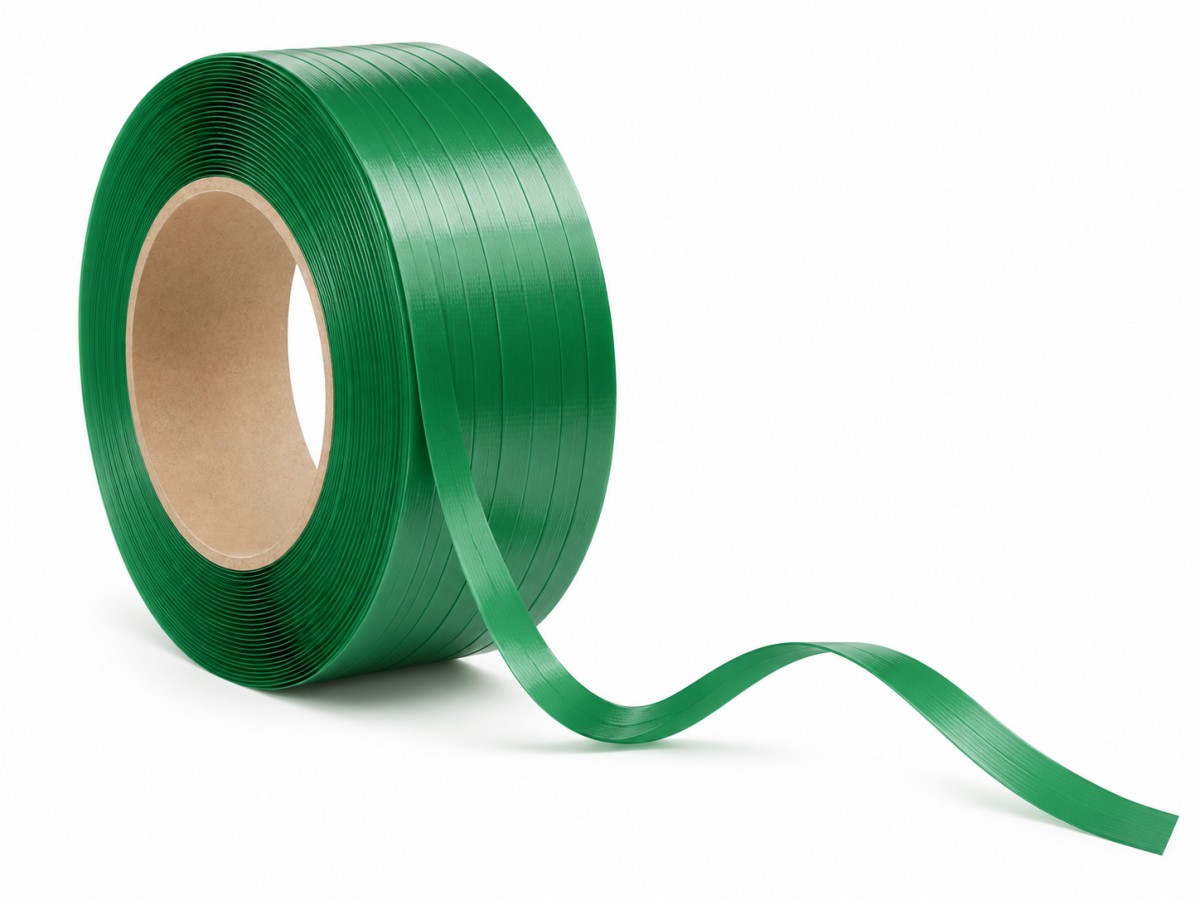
Freeze the Setup before Anyone Adjusts It
Keep the broken loop in position if it is safe to do so. Photograph the load, strap path, joint, contact points, and break ends. Record the roll lot, machine, operator, tension setting, time, and whether failure occurred during feeding, tensioning, sealing, handling, storage, or transit.
Mark the First Damaged Location
Failure location sharply narrows the cause. A joint that peels open suggests a different problem from a mid-span snap or a longitudinal split.
Let the Fracture Choose the Next Inspection
The first inspection should connect the visible pattern with the next controlled test.
| Observed failure | Likely areas to inspect | First corrective check |
| Joint opens or slips | Weld time, pressure, contamination, overlap, tool wear | Clean and inspect the joint system; test a known-good setting |
| Break beside the joint | Excess heat, misalignment, local notch or bending | Inspect weld parts and strap tracking |
| Mid-span snap | Over-tension, damaged strap, impact, inadequate grade | Compare applied tension with the approved strap window |
| Longitudinal split | Edge damage, guides, winding, brittle material | Trace the split back through the feed path |
| Cut at package corner | Sharp edge, migration, missing protector | Add the correct protector and stabilize the strap path |
Reproduce the Failure at the Current Setting
Run only when the equipment and released energy can be controlled safely. Confirm the displayed program, actual tool condition, strap path, and package position before the test. If the break repeats at the same point, inspect that local mechanism first. If it moves with a particular roll, preserve the roll and compare it with an approved lot. Do not raise or lower tension until the original behavior has been documented.
Open the Tool History and Examine Wear Points
Friction-weld joints require clean overlap, correct alignment, suitable weld energy, pressure, and cooling. Worn grippers, guides, cutters, or weld plates may notch the strap or create inconsistent joints. Only trained maintenance personnel should enter guarded equipment or change machine components.
Look for contamination
Dust, oil, water, and product residue can interfere with friction welding.
Check for one-sided wear
Repeated damage on the same strap edge often points to tracking or guide contact.
Compare with a known-good setup
A controlled reference roll and approved settings help separate material issues from equipment issues.
Trace the Strap Path around the Load
PET resists many handling conditions but can be cut by sharp metal, stone, timber, damaged pallets, or burrs. A strap that shifts into a gap may develop a tight bend and concentrated stress. Fit protectors that match the strap width and keep layers from moving beneath the loop.
Confirm What Was Actually Loaded onto the Dispenser
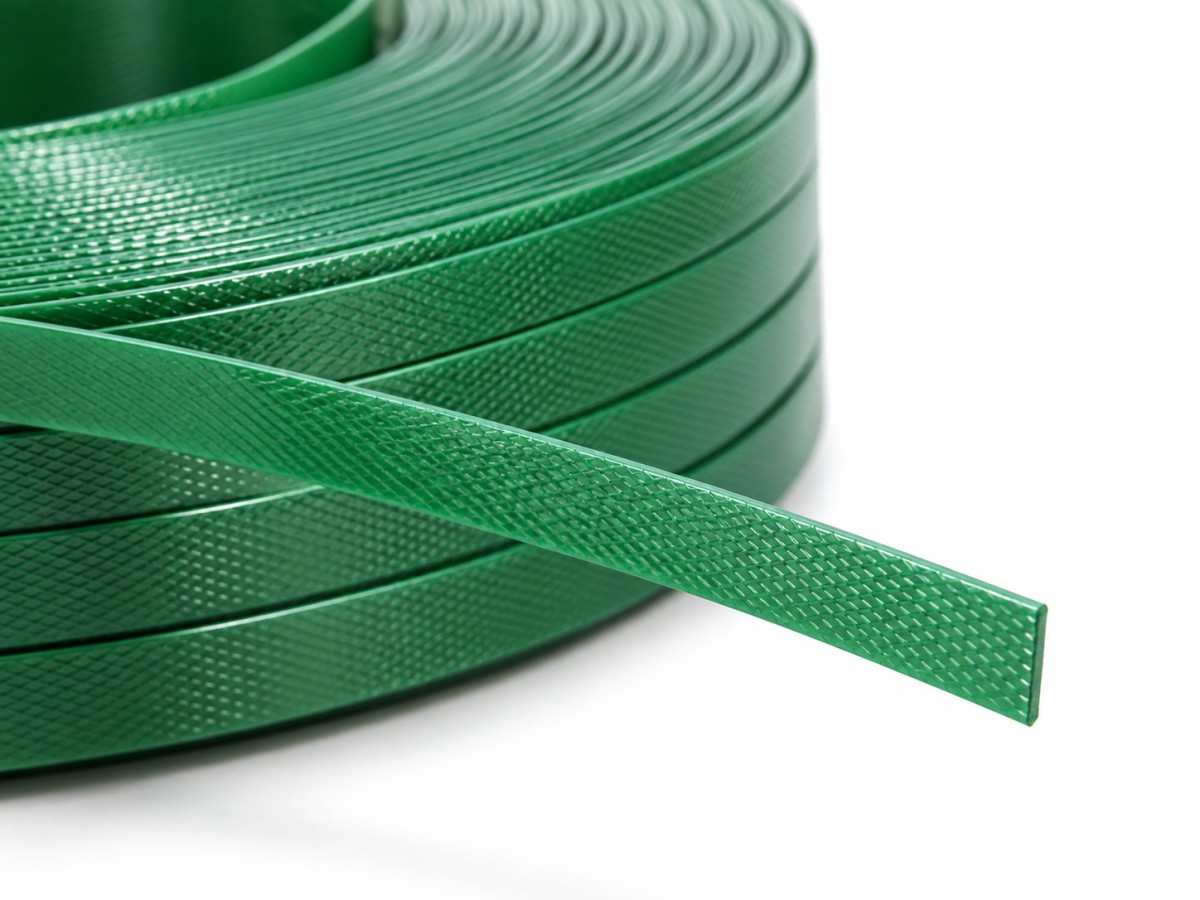
Confirm width, thickness, break rating, surface, elongation, coil dimensions, and machine range. The Zhuori website lists multiple PET sizes and both smooth and embossed surfaces. A substitution that looks similar may feed or weld differently, so change control is essential.
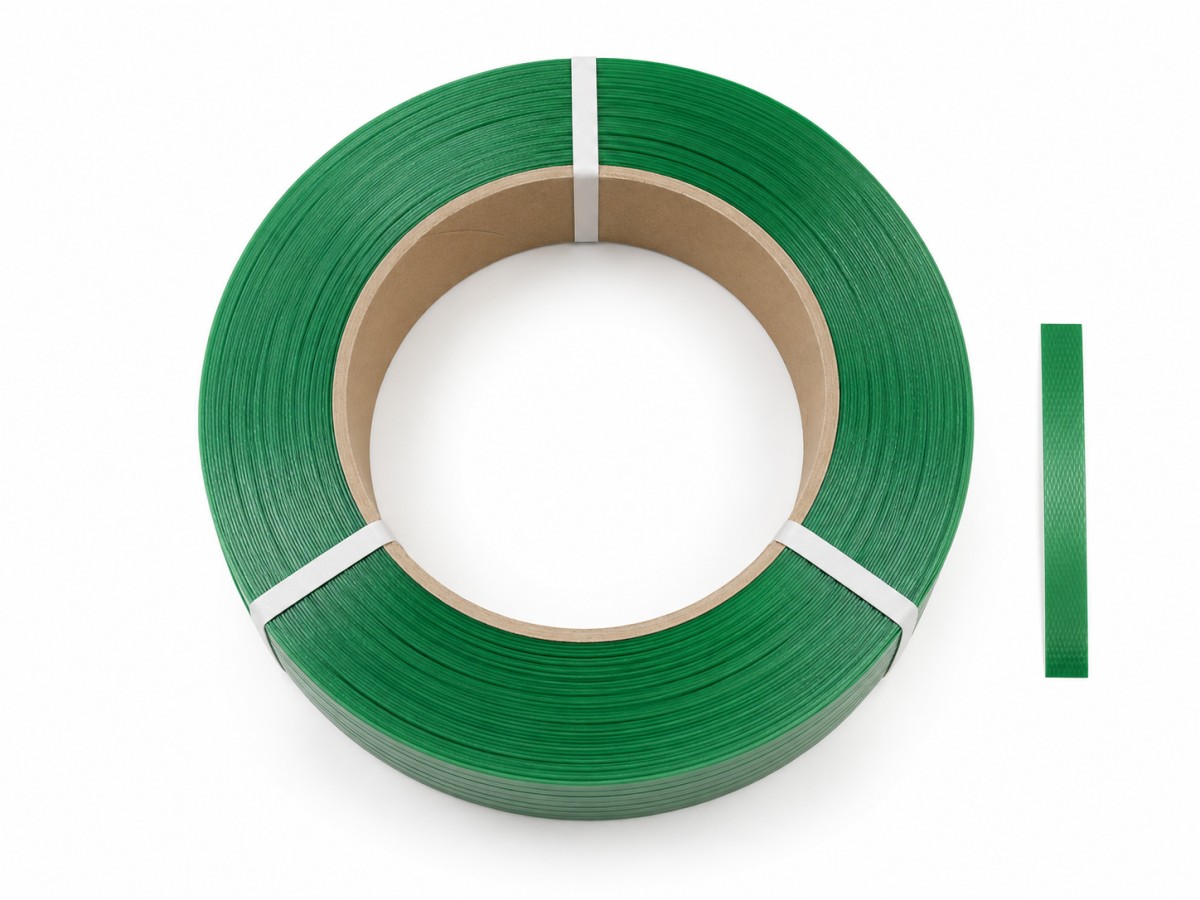
Inspect the Coil before Testing New Material
Protect coils from physical damage, contamination, and conditions outside the supplier’s storage guidance. Kinked strap, crushed coils, edge notches, poor winding, or degraded material can initiate a split well below the expected break force. Inspect packaging before loading a coil onto the dispenser.
Remove the Movement That Creates the Shock
An unstable pallet can repeatedly shock the same strap. Remove overhang, fill unsupported gaps, improve layer interlock, use anti-slip materials where appropriate, and coordinate stretch wrap and edge protection. A thicker strap cannot make a poorly built load stable by itself.
Prove One Correction at Normal Line Speed
Choose the correction supported by the evidence—such as replacing a worn guide, cleaning the weld area, adding a protector, correcting the pallet edge, or restoring the approved roll. Repeat enough cycles to expose intermittent behavior and include normal changeovers. The repair is complete only when the strap, joint, package, and operator result remain acceptable under production conditions and after the relevant dwell.
Define the pass condition before the run
State the acceptable joint appearance, strap position, package condition, cycle count, and post-dwell result before observing the first corrected pack.
Keep failed samples with the record
A labeled fracture and a photograph often explain more to maintenance or the supplier than a verbal report that the strap was weak.
Use the Failure Pattern across Several Cycles
A break that appears on every cycle at the same location points toward a stable cause such as a sharp edge, damaged guide, alignment error, or unsuitable setting. A failure that moves between locations or occurs only after several cycles may involve temperature, battery condition, contamination, coil winding, variable package geometry, or operator technique.
Compare multiple cycles and preserve the sequence of events. A single successful re-strap is weak evidence. If failures follow one coil across different tools, investigate the material and winding. If they remain with one tool across different approved coils, inspect the equipment and settings.
Close the Case with Evidence
Document the symptom, failure location, suspected mechanism, evidence, controlled change, trial quantity, acceptance criterion, and result. Include photographs and retain representative samples. This turns troubleshooting into a reusable operating record and prevents the same team from repeating ineffective adjustments.
When escalating to Guangzhou Nansha District Youjian Plastic Co., Ltd., provide the lot code, measured dimensions, failed samples, tool model, settings, joint method, load construction, storage conditions, route, and failure timing. Complete evidence allows a supplier to compare material data with application conditions instead of guessing from a photograph.
Conclusion
PET strap breakage is best solved by tracing the first failure point. Location and break pattern lead the investigation; tension, joint quality, guides, edges, load stability, storage, and grade compatibility then provide testable causes. A documented one-variable package trial is more reliable than automatically selecting a thicker band.
Close the investigation only after the corrected setup runs repeatedly at normal speed and the packaged load remains acceptable after the relevant dwell and handling. Update the work instruction, maintenance action, incoming check, or purchase specification so the verified correction becomes part of routine control.
FAQ
Why does PET strap break next to the weld?
Local overheating, alignment error, a notch, tool wear, or excessive bending near the joint may be responsible.
Can over-tensioning cause delayed failure?
Yes. It can damage the strap, joint, protector, or package and leave little capacity for later shock loads.
Why does PET strapping split lengthwise?
Common causes include damaged edges, guide contact, poor winding, a prior crease, or unsuitable material condition.
What information should be sent to the supplier?
Provide the lot number, dimensions, failed sample, photos, tool and settings, joint method, load details, timing, and repeated observations.
Post time: Oct-19-2026


